6 min read

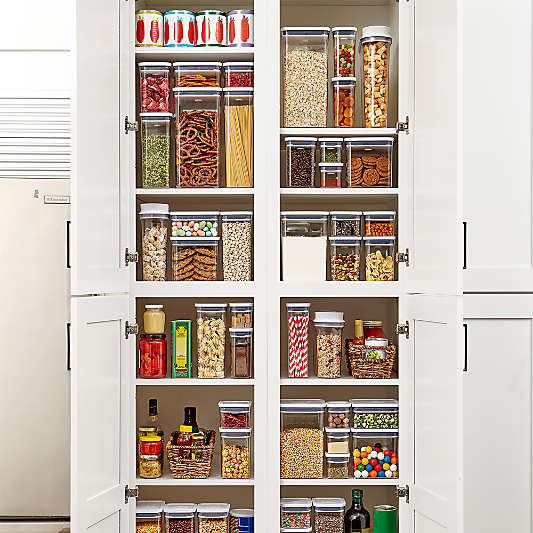
A well-organized pantry is every cook or busy family’s dream. It allows you to see everything you have, streamline meal prep and minimize food waste. Plus, when done well, an organized pantry can be a beautiful and calming area of your home that you visit multiple times a day. As professional home organizer Holly Blakey says, “clean, calm surroundings create a calm mind, impact your ability to focus and improve your mood.”
In this guide, we’ll take you through step-by-step how to organize a pantry, from the whole process of cleaning out your space to storage and shelving ideas that will keep you organized for years to come.
-
step #1: assess your pantry space
The first thing you will want to do is assess your space and think about what is possible and what is ideal for you. A large home might have a walk-in pantry, whereas a smaller home might have simply a dedicated pantry cabinet for limited staples.
Determine Your Pantry’s Size and Layout
The general size and layout of your pantry should start to give you some ideas of how best to use it. Use these general dimensions to help set a realistic goal of what you might be able to achieve.
Identify Problems and Clutter Zones
If you are embarking on this pantry organization journey, chances are your current pantry situation has a few problem zones. Maybe you constantly find yourself unable to find the ingredients you are looking for because of deep shelves. Maybe there are just too many items and unused vertical space. Look for where you see the most clutter. Identify the biggest problem you want to solve, and keep it in mind as you move forward.
Assess Storage Needs
Looking at your current cluttered space can help you identify the categories that you want in your organized pantry. Potential storage needs ideas are a snack area for kids or a place to store all of your baking ingredients, or a home for all your spices to live together.
-
step #2: clear out and clean
It’s the most daunting step but also the most satisfying: clear out and clean! By tackling the project all at once (instead of little bits over the course of several weeks), you’ll end up with a pantry that is not just neat-looking but actually strategic. When you start with a clean slate you can truly see what’s possible.
Remove Items from Pantry Shelves
Start by cleaning everything out. Remove all the items to a large open area in your home like a dining room table or kitchen counter. That way you can see everything and have the space to categorize and move items into piles or groupings.
Check for Expired and Unused Items
Next check for expired items and dispose of these accordingly. Other items may not be expired, but if they’ve been there a long time, you are either not using them because it’s not something that you like or you weren’t able to see it. Make a plan to donate unopened, unexpired items to a local food pantry. For ingredients that you simply forgot about, make a plan to use them in recipes over the next two weeks and plan your next grocery store trips accordingly.
Wipe Down Shelves and Walls
Finally, wipe down all the shelves and walls with a food surface-safe cleaner. Bits of food that have fallen out of containers can attract pests so you want to keep your pantry clean in addition to organized.
-
step #3: plan your pantry layout
There is no one right way to layout a pantry. It really depends on what works best for each person. Organizer Holly Blakely explains, “the goal is always to make it easy to maintain.”
She recommends considering your personal lifestyle when prioritizing categories for your pantry whether that’s putting healthy ingredients front and center if you are looking to eat better, grouping dinner staples together for quick weeknight meals, or putting kids items at their eye level so they can get themselves snacks.
Categorize Pantry Items
Next, group your pantry items by your categories: baking essentials, grains and beans, pasta staples, snacks, kids’ items etc. While it might look nice to visual group things by shape (ie all the cans together), the categories (ie. grains and beans) will actually make it much easier to find what you need quickly.
Decide Where Each Category Should Go Within Your Pantry
Decide where each category should live in the pantry. Consider accessibility and frequency of use when choosing a location. Also be sure to follow the ‘first in, first out” rule meaning the oldest items just moved up to the front so you use them first ahead of their expiration date. Consider the least accessible areas for seasonal products that you might not use frequently like sugars and sprinkles for holiday cookies or cocktail staples you only take out for entertaining. These harder to reach areas are also ideal for storing serveware, bakeware, or specialty cooking tools that are seasonal or that you don’t use frequently.
-
step #4: select pantry storage solutions
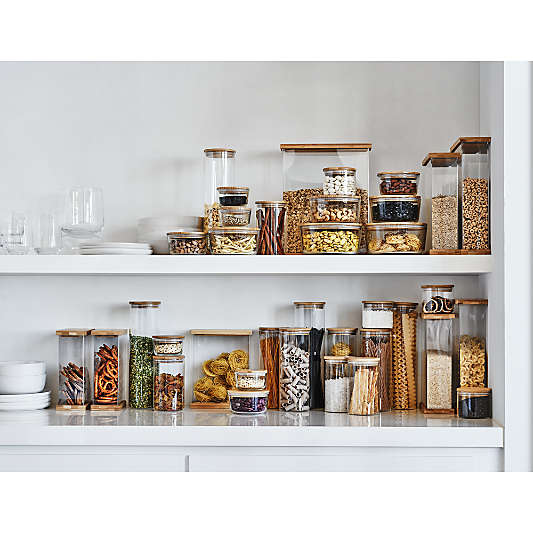
This is our favorite part and the part that will have the most visual impact for creating a beautiful space you truly love: picking out any pantry storage solutions like canisters or baskets that you might need. If your pantry is good as is, then that’s great! But chances are there is some unused space like a tall shelf or lots of little containers that easily get disorganized and could be better corralled into a basket.
We find it’s best to select storage products after you’ve decided on your categories and where they will each go, so you know exactly what you need. Home Organizer Holly Blakey advises, “you actually need less. Any item that is not being used is just taking up valuable space. Create an organized system that can be maintained by reducing items down to only what you truly use, love and need.”
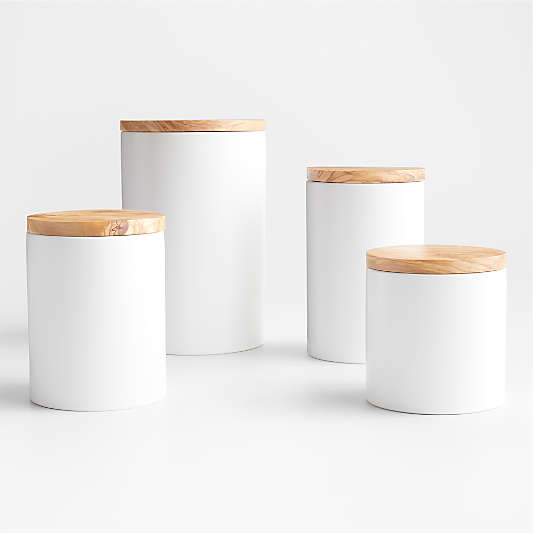
canisters
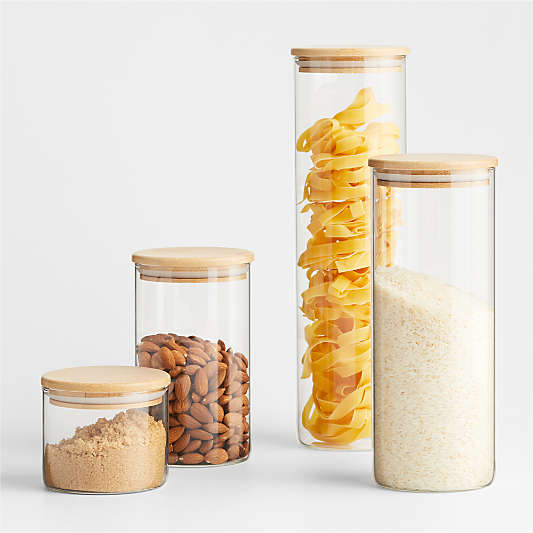
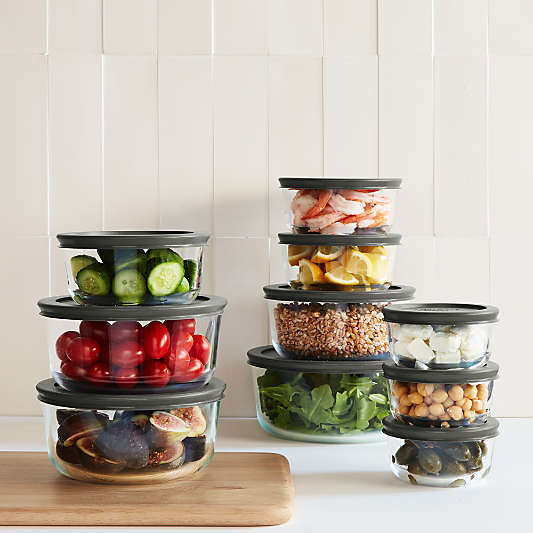
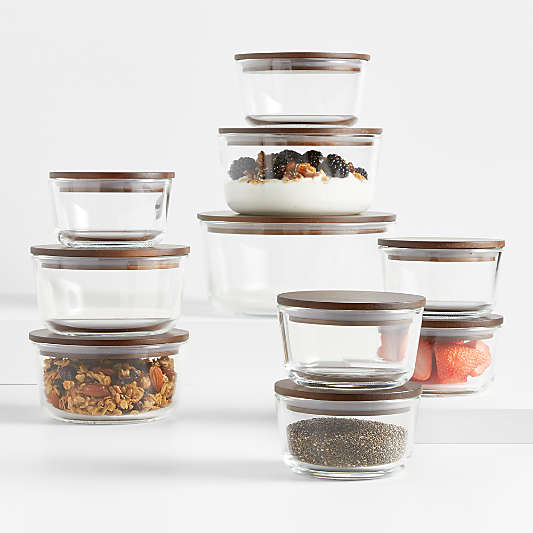
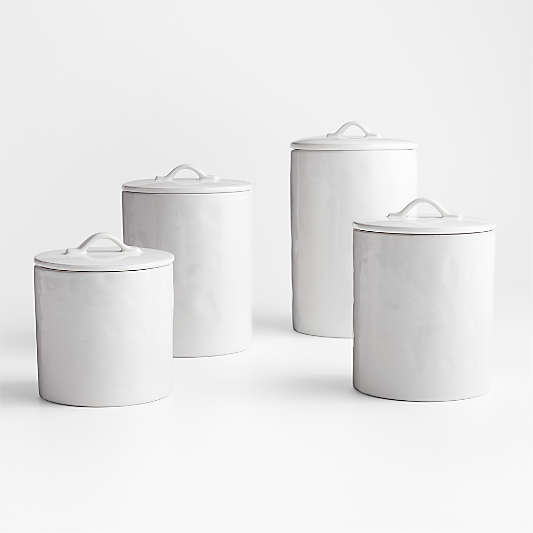
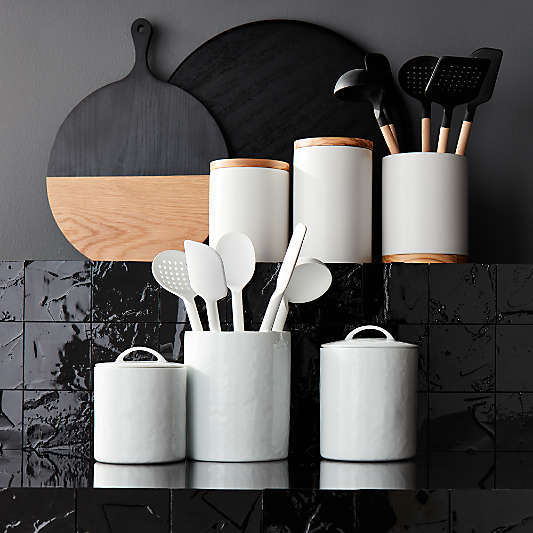
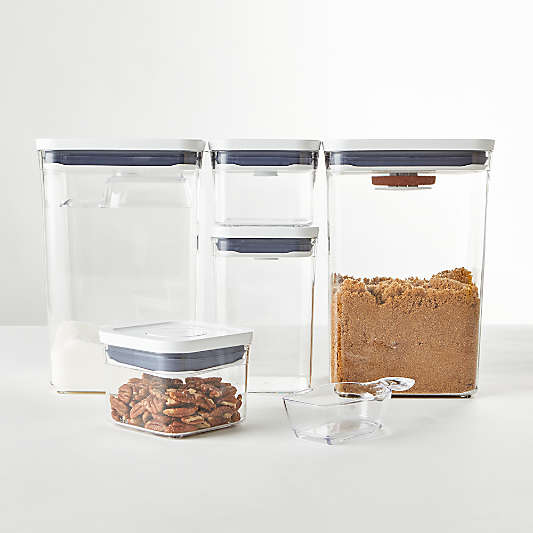
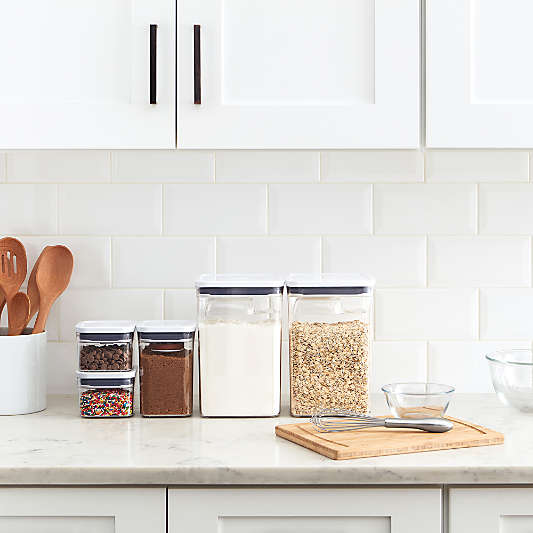
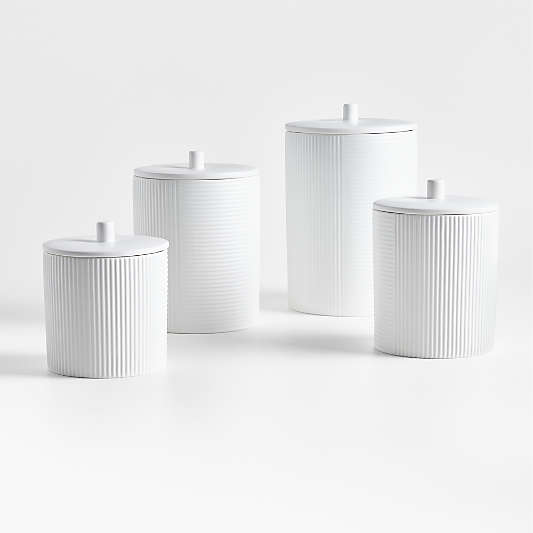
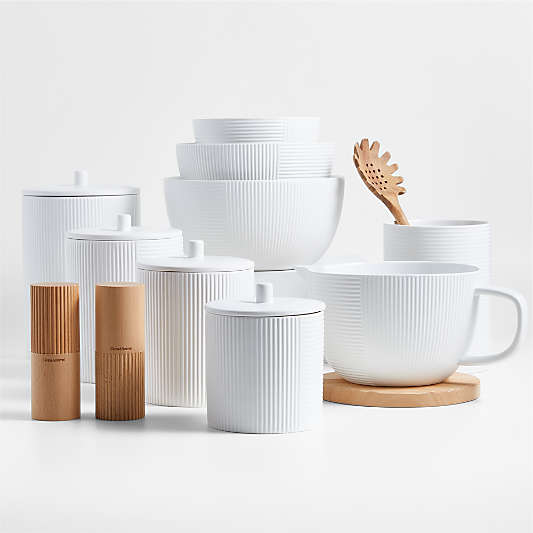
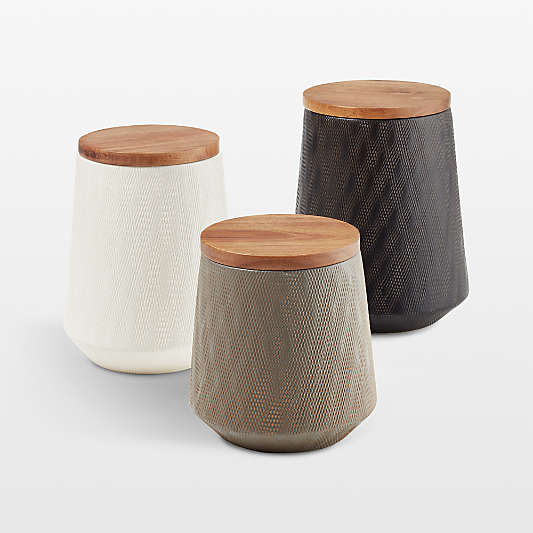
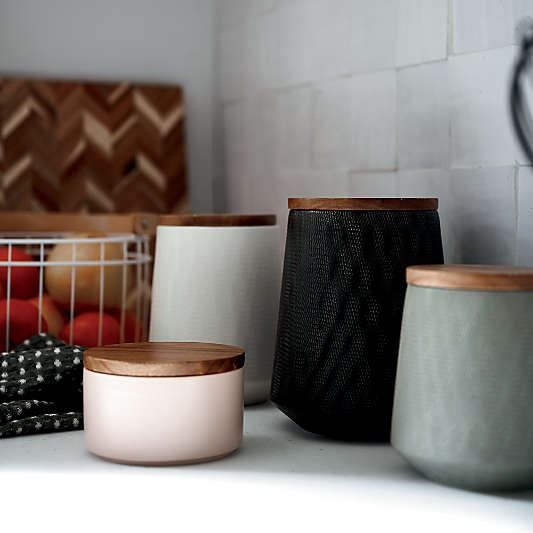
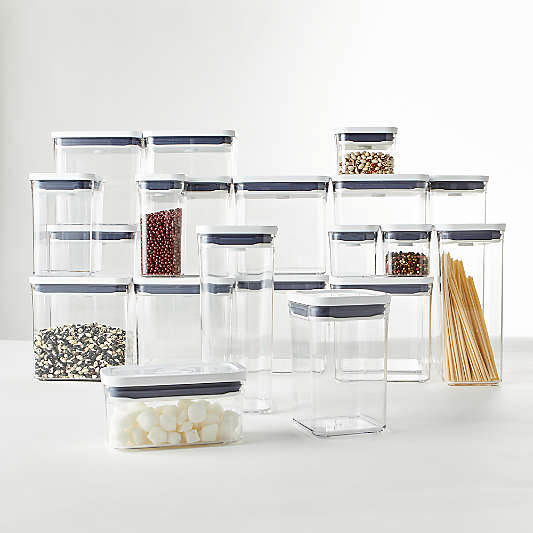
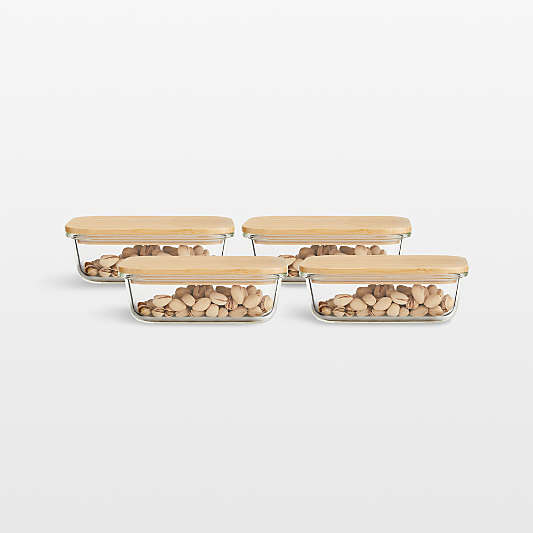
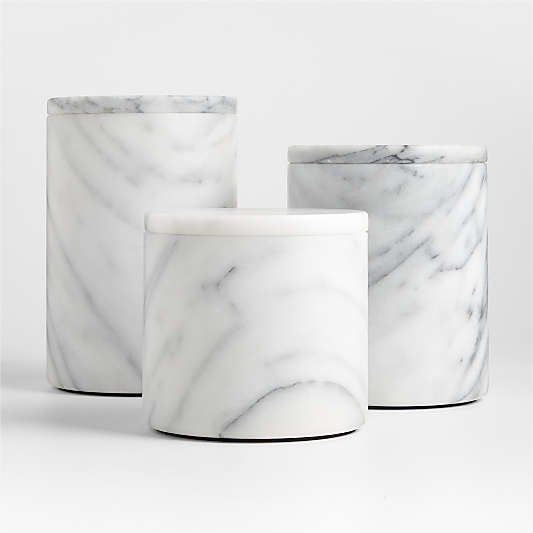
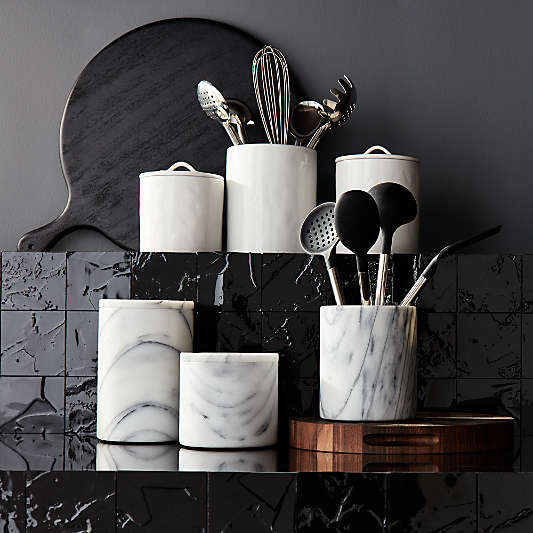
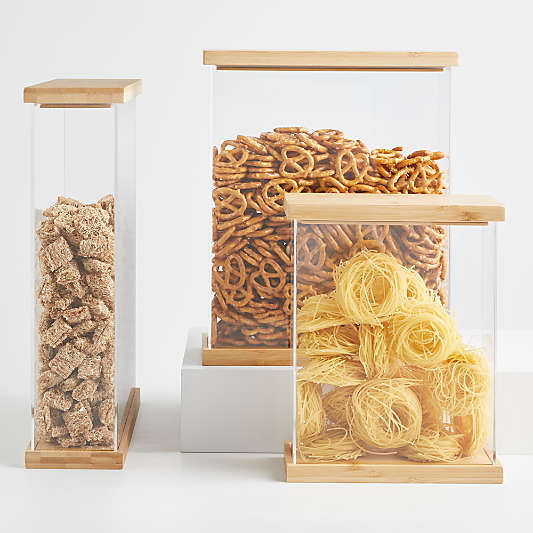
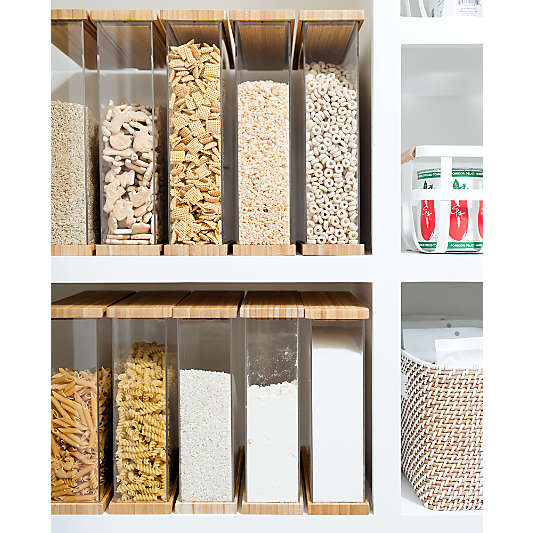
First, consider canisters. Made from glass, ceramic, acrylic and a variety of other materials, these vessels are so versatile for all kinds of dry goods. Clear materials allow you to see the food inside and monitor when you might need more. Opaque materials allow you to strategically hide what’s inside if ingredients need protection from light or if your storage is visible and you don’t want all the ingredients inside to create visual clutter.
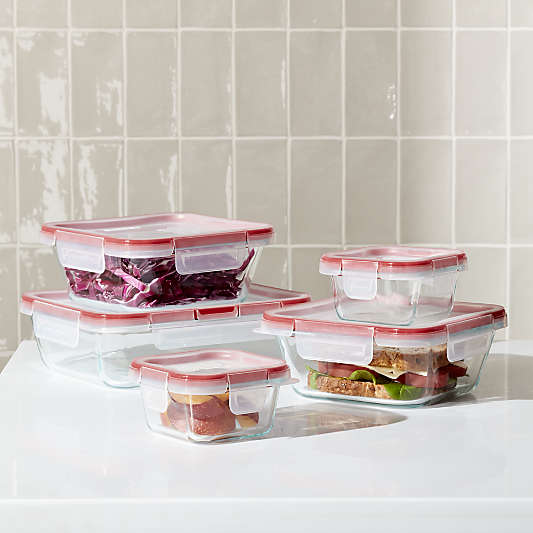
Food Storage Containers
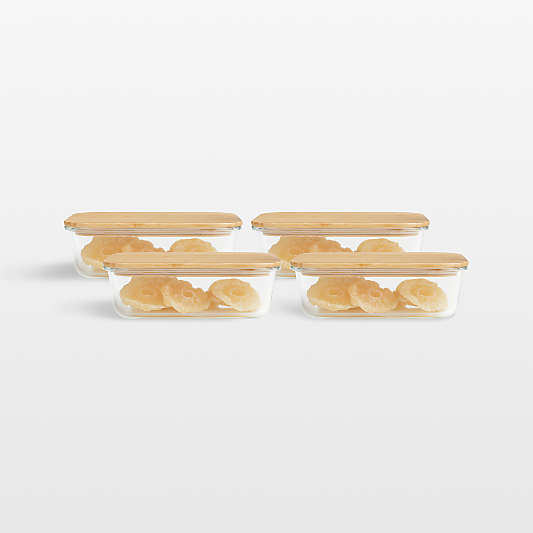
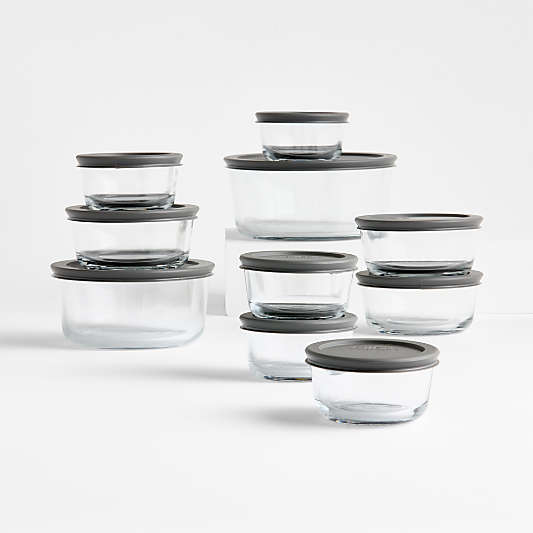
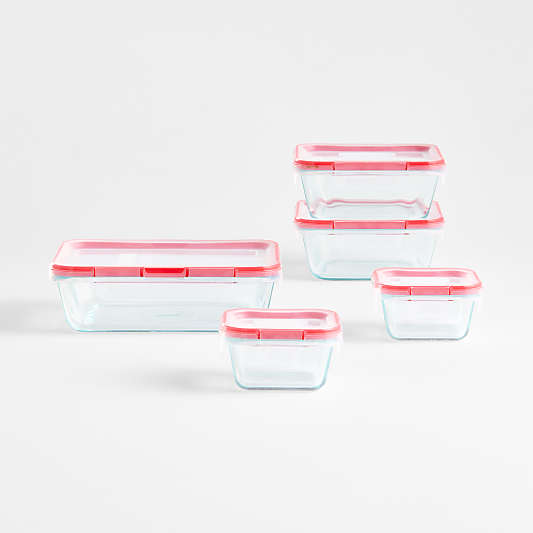
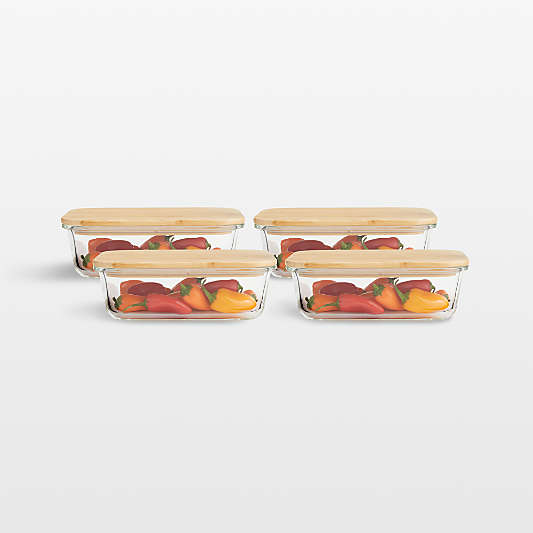
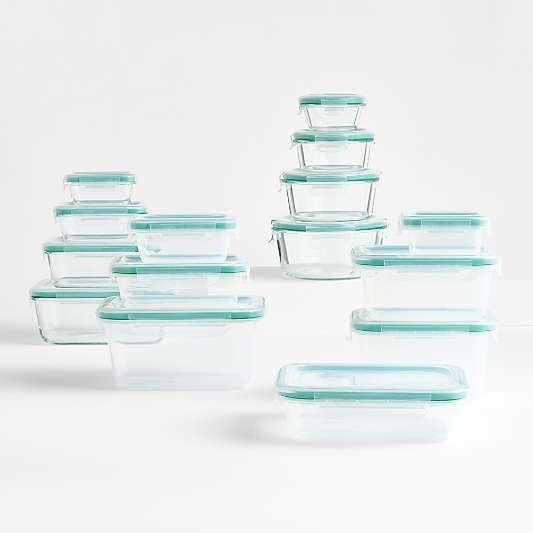
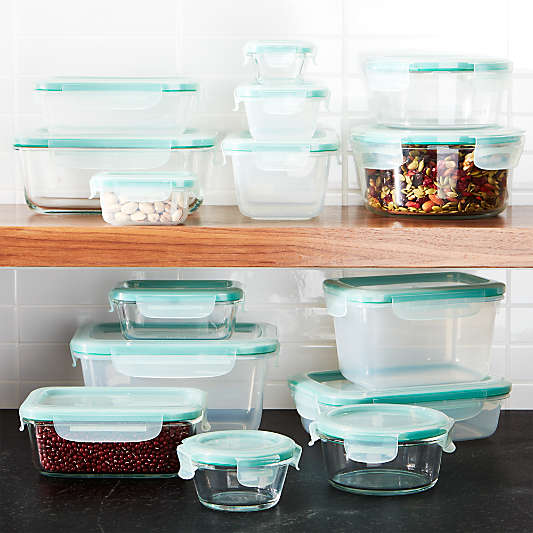
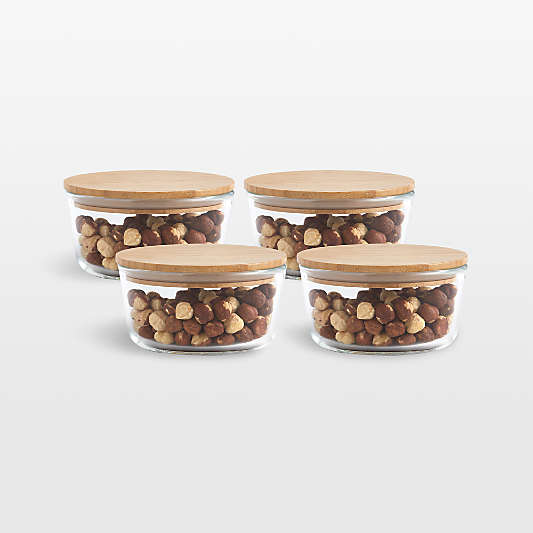
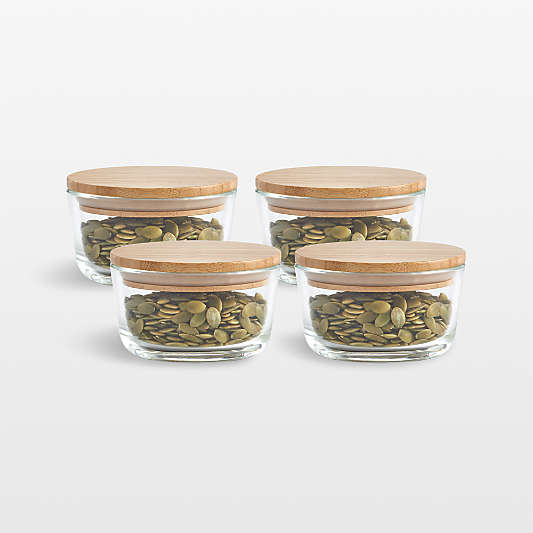
Food storage containers can offer even more versatility. These containers come in all shapes and sizes. Beyond the expected cylindrical and rectangular options, you can also find bags, bread boxes and spice jars for more specialized ingredients.
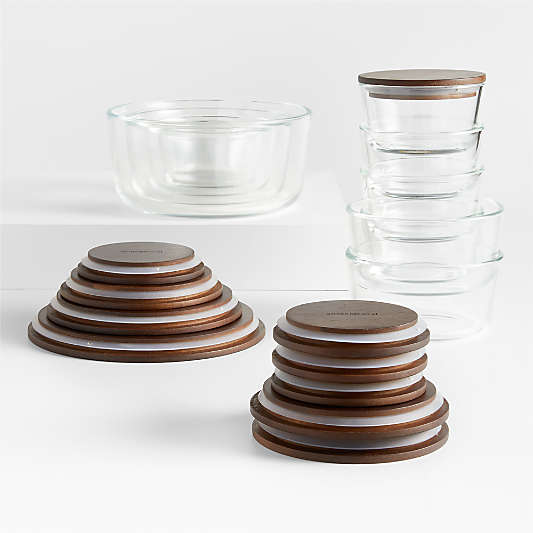
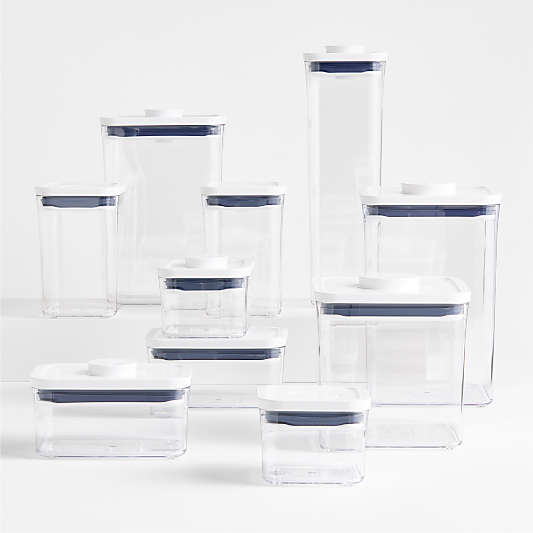
Food storage containers, especially square or rectangular ones can optimize space in a small pantry. “Rounded edges waste precious space, so I love rectangular canisters,” says home organizer Holly Blakey. She also recommends tiered or stacking containers for tight spaces or tall shelves.
spice rack
Small, mismatched jars of spices can easily turn an otherwise organized pantry into disarray. Spice racks come in a variety of sizes and serve to corral all your spices so you can see what you have and use them more. Spices can be stored in your main pantry and products like a lazy susan or a tiered spice rack can make them more visible. If you are tight on space, you might like a magnetic spice rack that can adhere to the refrigerator or even a countertop version. When spices are stored in matching jars, they can make great kitchen decor if you need to do visible storage.
Pot Racks and Door Organizers
Many pantries house both ingredients for cooking as well as cookware and extra tools. A pot rack makes good use of vertical space where it might be hard to store other frequently used items. Be open-minded when it comes to organizing your pantry. You may find that your cookware cabinet is better suited to small appliances, and a pot-rack in a walk-in pantry is the perfect solution for your cookware.
Shelves and Drawers
If you have a wide open space, you may want to invest in shelves or furniture to add drawers, shelves and other surfaces to store your ingredients. If your pantry has drawers, drawer organizers that can divide utensils or spices keep them from getting mixed up and cluttered with use.
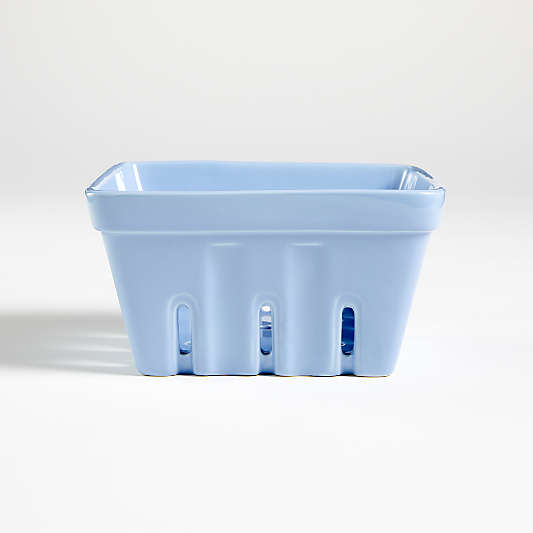
baskets
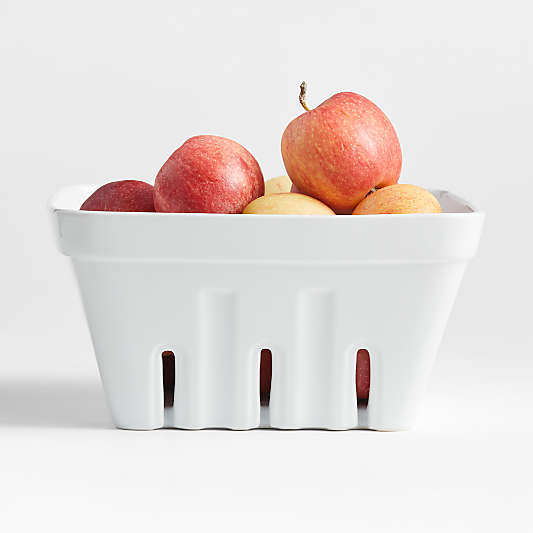
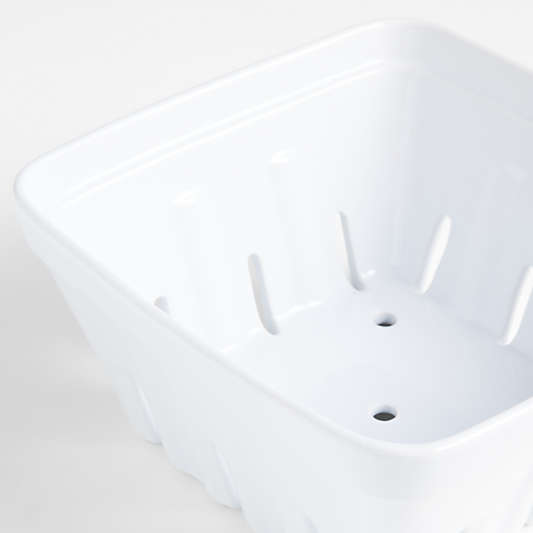
Baskets are one of our favorite ways to group and store items. They can hide mismatched items without needing to transfer everything individually to smaller containers. Baskets are also a convenient way to store items on a high shelf since it can be easier to take down a basket than lots of little items. Consider baskets for some of your categories like baking supplies that would allow you to make one trip from the pantry to the kitchen counter with everything you need.
“Life is better with baskets,” says home organizer Holly Blakey. “Being able to toss things in without worrying about how it looks is so helpful. The Sedona basket’s design makes it versatile for almost any design aesthetic. I love that it’s made with sustainable materials.”
-
step #5: containerize and label items
So now that you have your containers, it’s time to fill them! The organizing world calls this “decanting.” It’s such a popular step because it helps with organization, storage space and visual appeal all in one.
Be sure to give containers a good wash and dry according to product directions before storing food inside.
Transfer Loose Items into Containers
Popular items that get decanted into containers are all kinds of dry goods like flours, sugars, cereals, grains, beans, pasta and more. These products can benefit from the airtight packaging that some canisters provide, allowing them to stay fresher than they otherwise would after opening.
Label Containers with Contents and Expiration Dates
Next, strongly consider labeling your containers. While it might not be necessary for some items, many pantry items like flours or baking staples look very similar. It’s also helpful when you have multiple members of a household who might not know all the ingredients. Add the date so you know when the item was opened and if/when it should be discarded. Uniform pantry labels will help bring a cohesive and pleasing look to the pantry. You can make these by hand or use a printer or label maker.
-
step #6: maintain and revise your organization method
While it would be wonderful if a pantry organization project was a one-and-done, that’s not quite the case. You may have to check in after a few weeks to make sure it’s working for you and see if there are any updates you want to make. But ideally your major reorg project is setting you up for success and is flexible enough to accommodate changes and new purchases. Regardless, you’ll want to have just a few maintenance procedures.
Regularly Check Expiration Dates
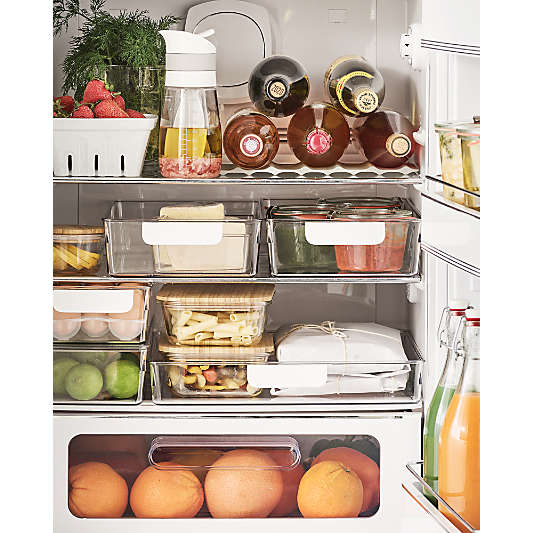
While your “first in, first out” rule, combined with increased visibility of hard-to-see items should help avoid expired items, it’s not a bad idea to do a quick pantry check every 6 months. This is great to combine with a check-in to see if you need any new storage containers. Also see if anything is out of place and wipe down shelves and walls to keep it clean. If you find that some of your staples like oils, nuts or grains are going bad before they should, consider if opaque or airtight containers–or even storing in the refrigerator–might be a better choice for these ingredients and avoiding rancidity.
Determine if the Current Layout is Functional for Your Household
The 6-month check in is a good time to be sure that the layout is still functional. Over time, your household’s dietary preferences, cooking skills, and free time may change, so you may find yourself needing new categories, containers and solutions. The good news is, once you have done the work of really thinking about how your pantry can serve your household, making changes and updates will be much faster.
conclusion
When you are cooking or preparing for the week, there is nothing more satisfying than having everything you need organized and in one place. A well-organized pantry will serve you for years to come. Once you have the foundation in place, simple updates can keep you and your family finding and using everything they need. To get started, schedule a day or an afternoon to tackle your pantry and go through these 6 steps.


