6 min read


Whether you’re a seasoned decorator or a first-timer, creating a stunning and festive Christmas tree doesn’t have to be complicated. With twinkling lights, sparkling ornaments, charming toppers, festive skirts and a bit of creativity, you can transform yours into a beautiful centerpiece that captures the spirit of the holidays. But where do you start? Keep reading for our easy tips to help you decorate your Christmas tree effortlessly. Let the festive fun begin!
step #1: choose the right size tree for your space
Before you decorate, it’s important to determine the ideal tree height and width for your living room (or wherever you’re placing the tree). You don’t want your tree to be crammed right up to the ceiling, so leave between twelve and eighteen inches of vertical breathing room between your tree topper and the ceiling. Don’t forget to include your topper and stand in your measurements. It's also important to leave about twenty four inches of free space around the circumference of your tree. This will allow everyone to easily walk around the tree.
step #2: tie it all together with a color scheme
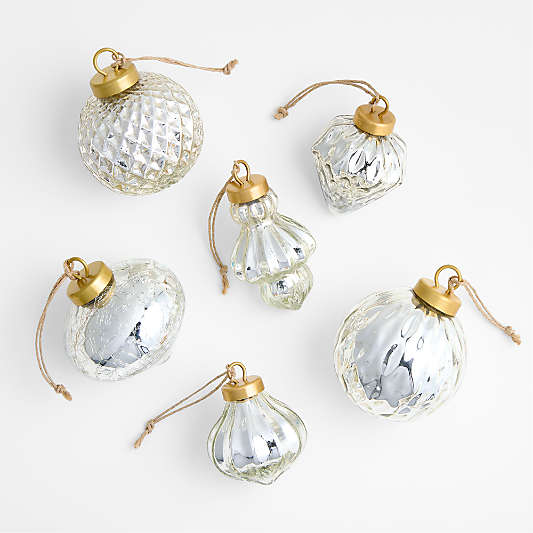
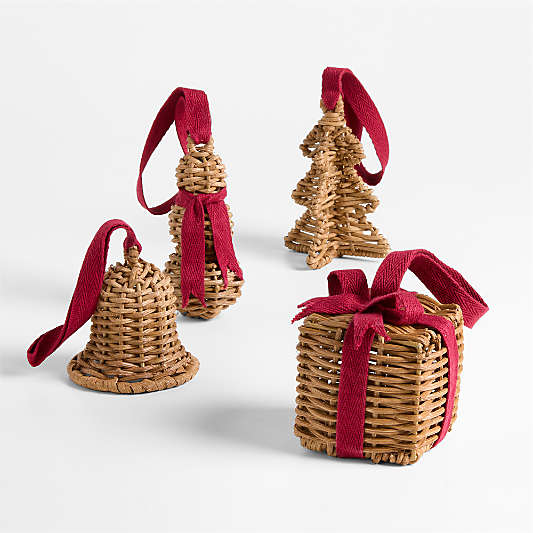
Instead of picking an overall theme for the tree decorations, focus on creating a cohesive color palette. This will let you blend together different styles and themes of ornaments–modern, rustic, classic–for years without worrying if they match. You can’t go wrong with a Christmas tree decorated in a mix of classic red and green with pops of white or a combination of metals like silver and gold. Both looks are timeless.
step #3: gather up all of the decorations
Once you have a tree and theme picked out, gather up everything you need to decorate: a tree skirt or tree collar, tree topper, ornaments, hooks. Check, check, check! Lay out all of these items within arms reach before you begin decorating so the process runs smoothly. Trust us, this will save you so much time and energy. No more running back and forth between the attic and the living room!
step #4: assemble & fluff the tree
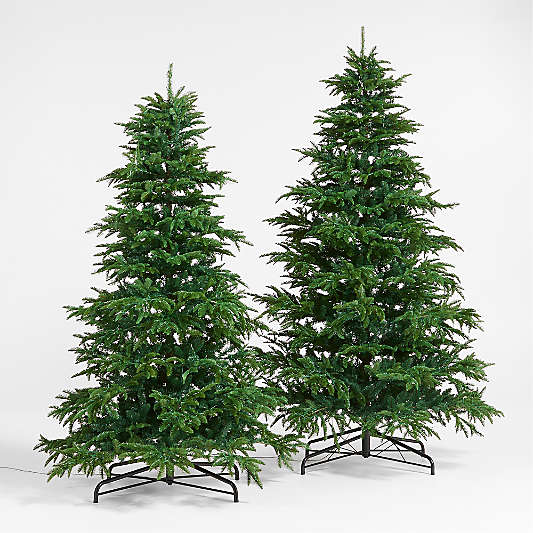
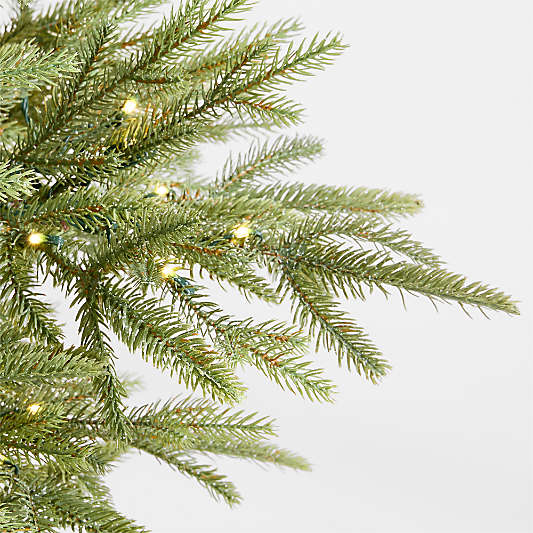
Fluffing your tree is the key to achieving that lush, natural look we all love. If you have a faux tree, start by assembling it. Once each section is securely connected, carefully separate each branch from the main stem, beginning with the bottom section and working your way to the top of the tree. Spread them out in different directions for the best results. Working from the inside out is the easiest method, ensuring you won’t have to reach around fluffed branches to get to those closer to the trunk. Step back periodically to check for any gaps in your silhouette. If you find any, gently bend the branches upward and outward to create a symmetrical shape.
step #5: add the ornaments
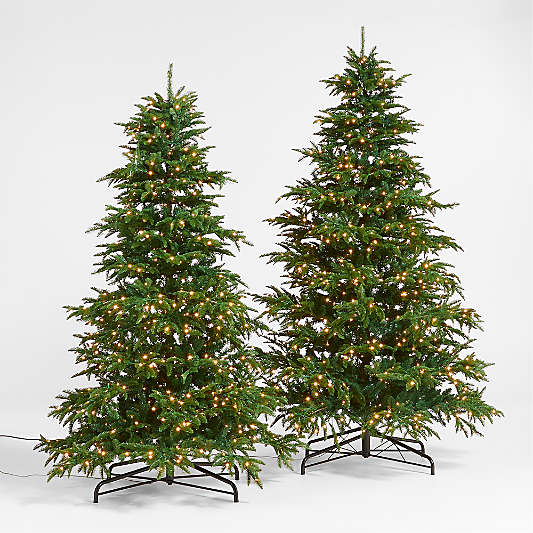
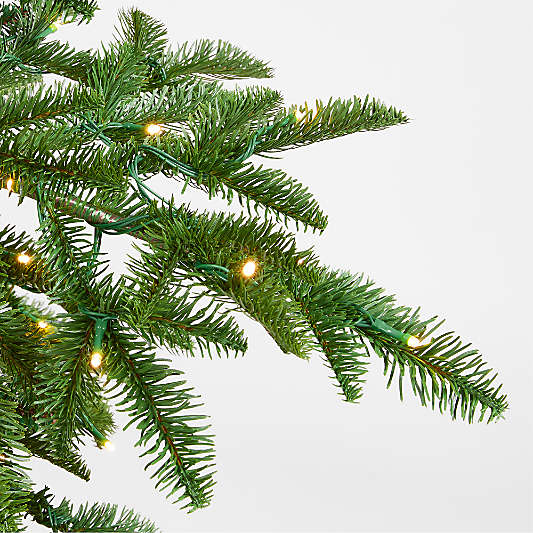
Now is when you’d typically add lights to your tree, but we suggest saving yourself a ton of time and opting for one of our pre-lit faux trees. If you prefer a real tree or a faux tree without lights, a general rule of thumb is 100 lights per foot of tree. For instance, a 7-foot Christmas tree would ideally have at least 700 lights. However, our pre-lit trees come with even more than that for maximum sparkle.
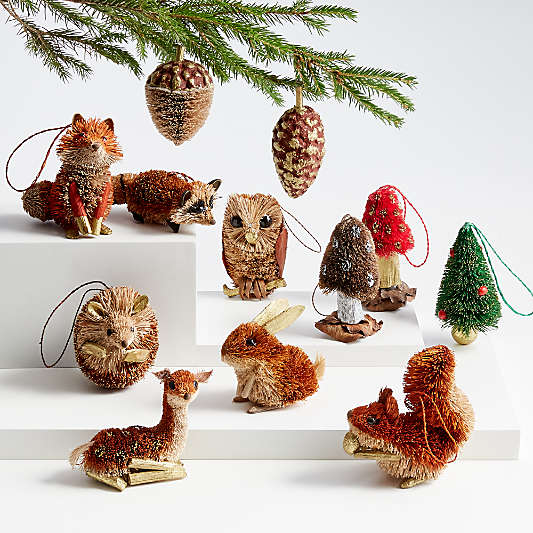
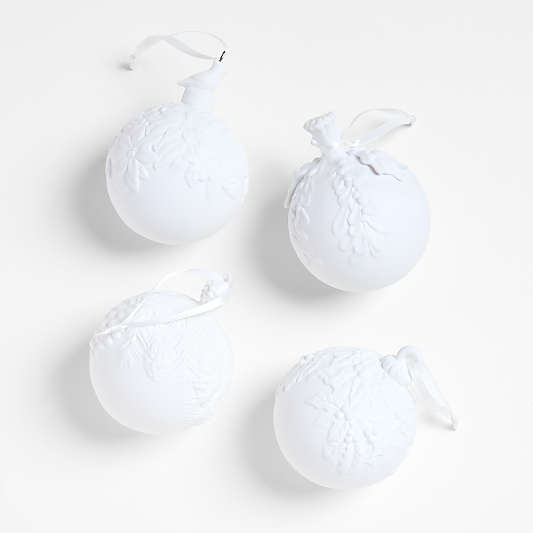
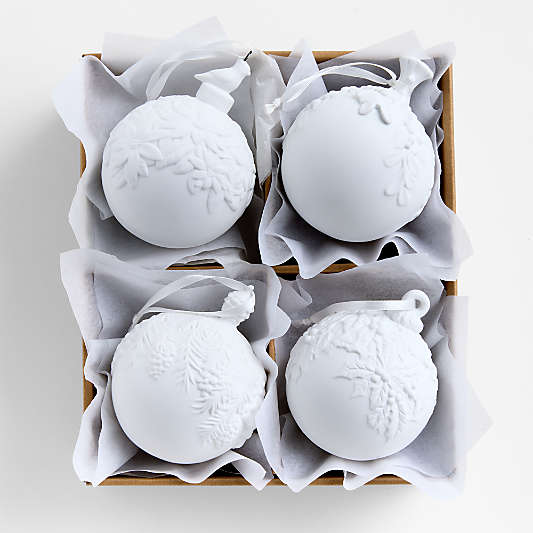
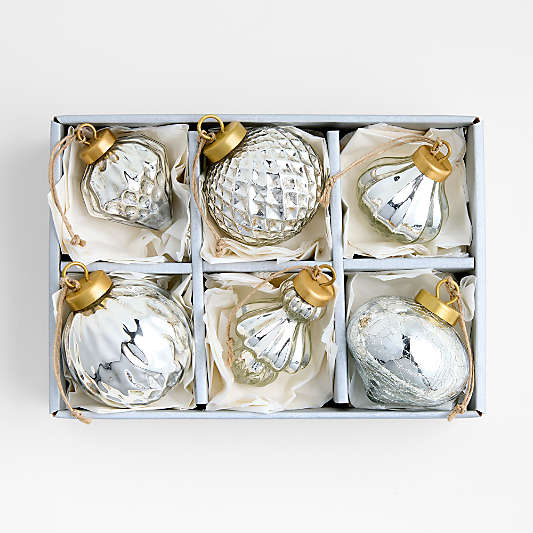
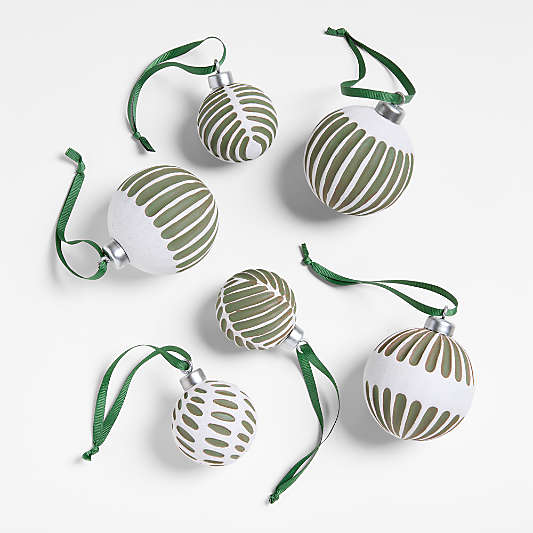
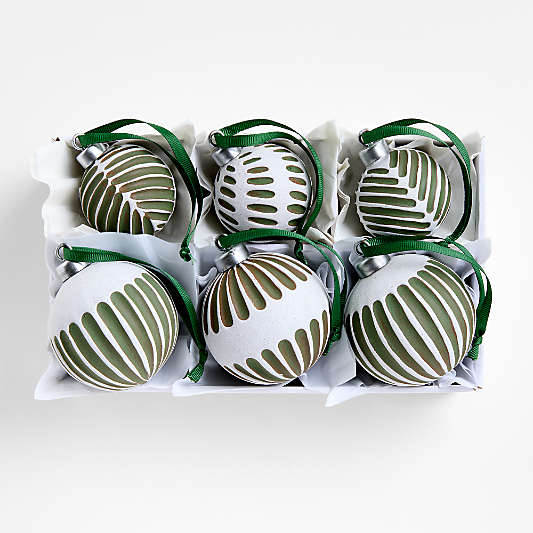
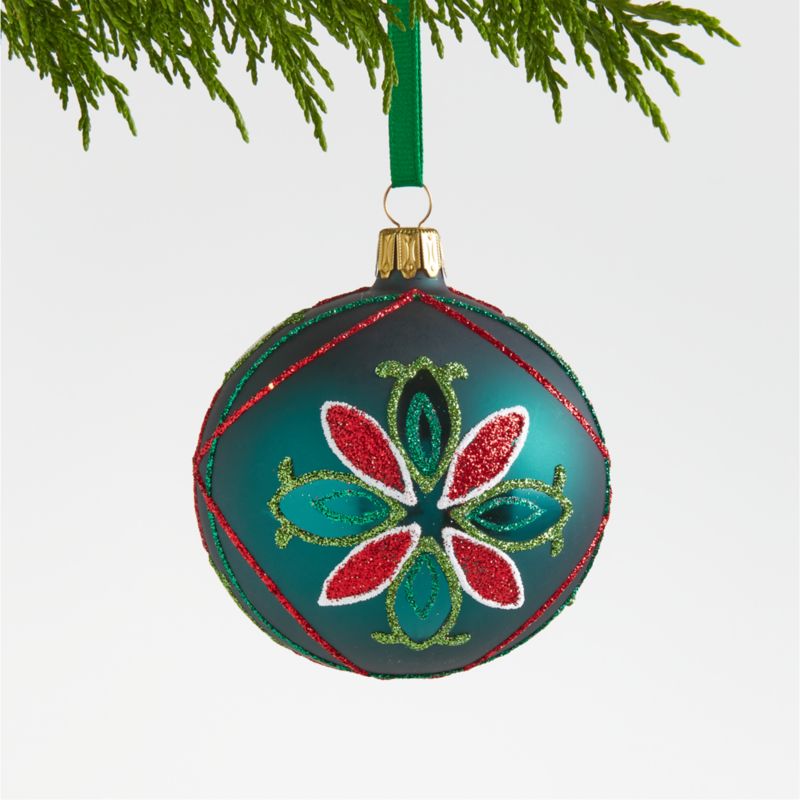
Now it’s time to add the ornaments. Investing in ornament sets is a quick way to ensure your tree has a cohesive look that’s also full of shine. You can attach ornaments to the tree using the string included, but we recommend adding hooks. Hooks make it easy to attach and detach ornaments from the tree without causing damage to the branches or the ornaments themselves, and they keep delicate ornaments, especially glass ornaments, securely in place.
First, scatter the ornaments from the sets all over the tree, from top to bottom, to make sure it looks balanced. Next, fill in the gaps with smaller ornaments. Is it a family tradition to include certain sentimental ornaments? Gather the most treasured ones and carefully add them to the tree. Vary the ornaments you hang according to size, shape, color and style, adding the smallest ornaments last. Aim for a natural, layered effect. And don’t forget to decorate the back of the tree!
step #6: top the tree in style
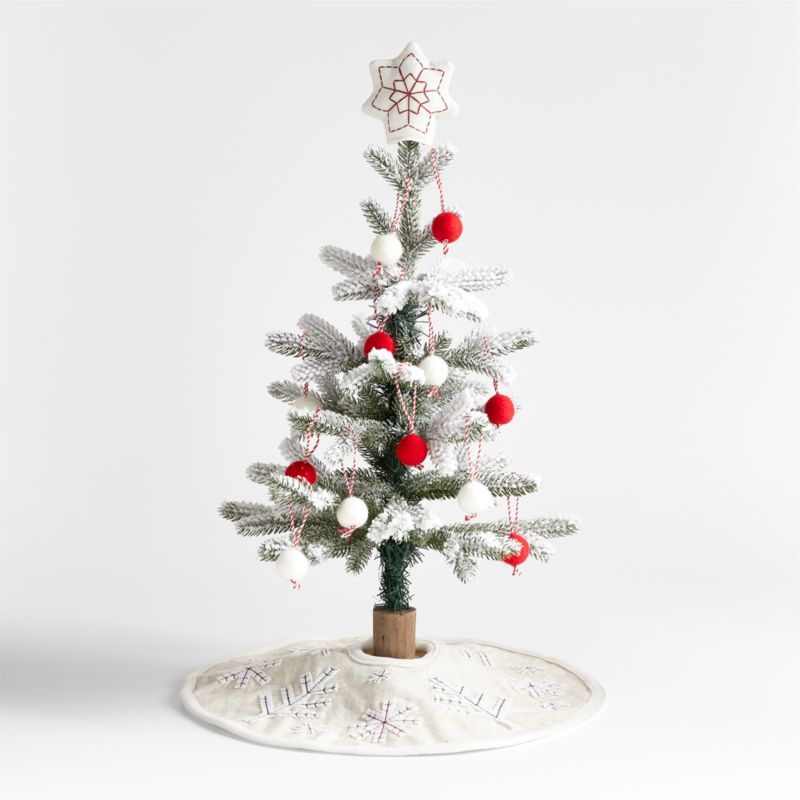
Add the finishing touch to your Christmas tree with a tree topper. The height of a tree topper should generally be no less than 10% of the height of your tree. For example, you’ll want at least a 10 inch topper for a 10-foot.
step #7: complete the look with a skirt or collar
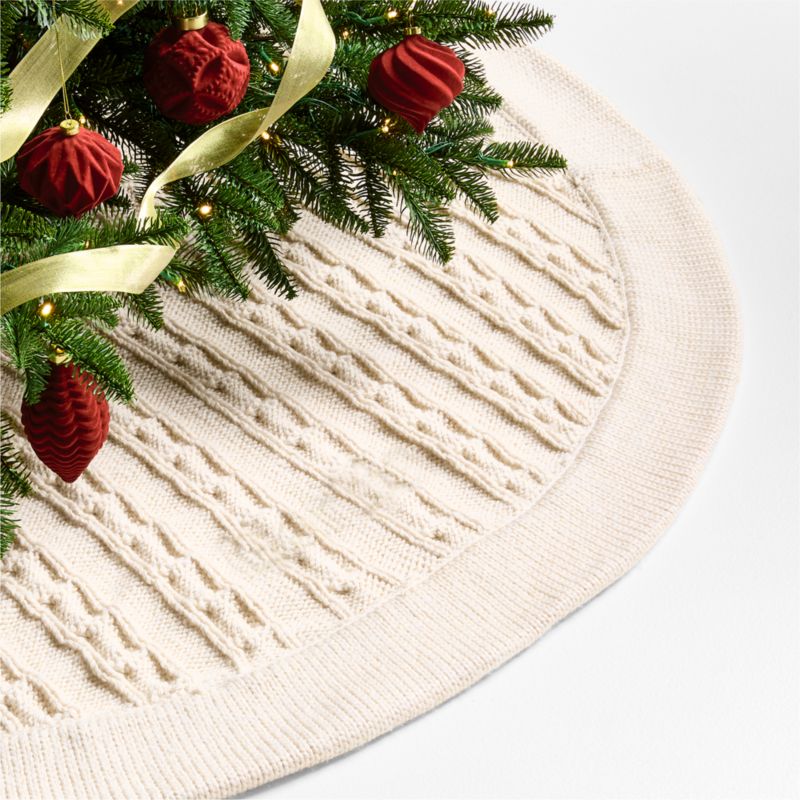
Now for the final touch: adding a tree skirt or a tree collar. They do a wonderful job hiding the base of your tree, but have their own pros. Skirts bring timeless appeal to your display, provide a designated area to place gifts and can be personalized for a custom look. Collars, on the other hand, have become more popular for their modern look and are typically made from really durable materials, they add some extra stability to your tree base and don’t collect dirt and dust like a skirt does.


